 How to Install a Ceiling Fan" />
 How to Install a Ceiling Fan" />
How to Install a Ceiling Fan" />
It's easier than you think, even on an angled ceiling.
![]()
Time
![]()
Complexity
![]()
Cost
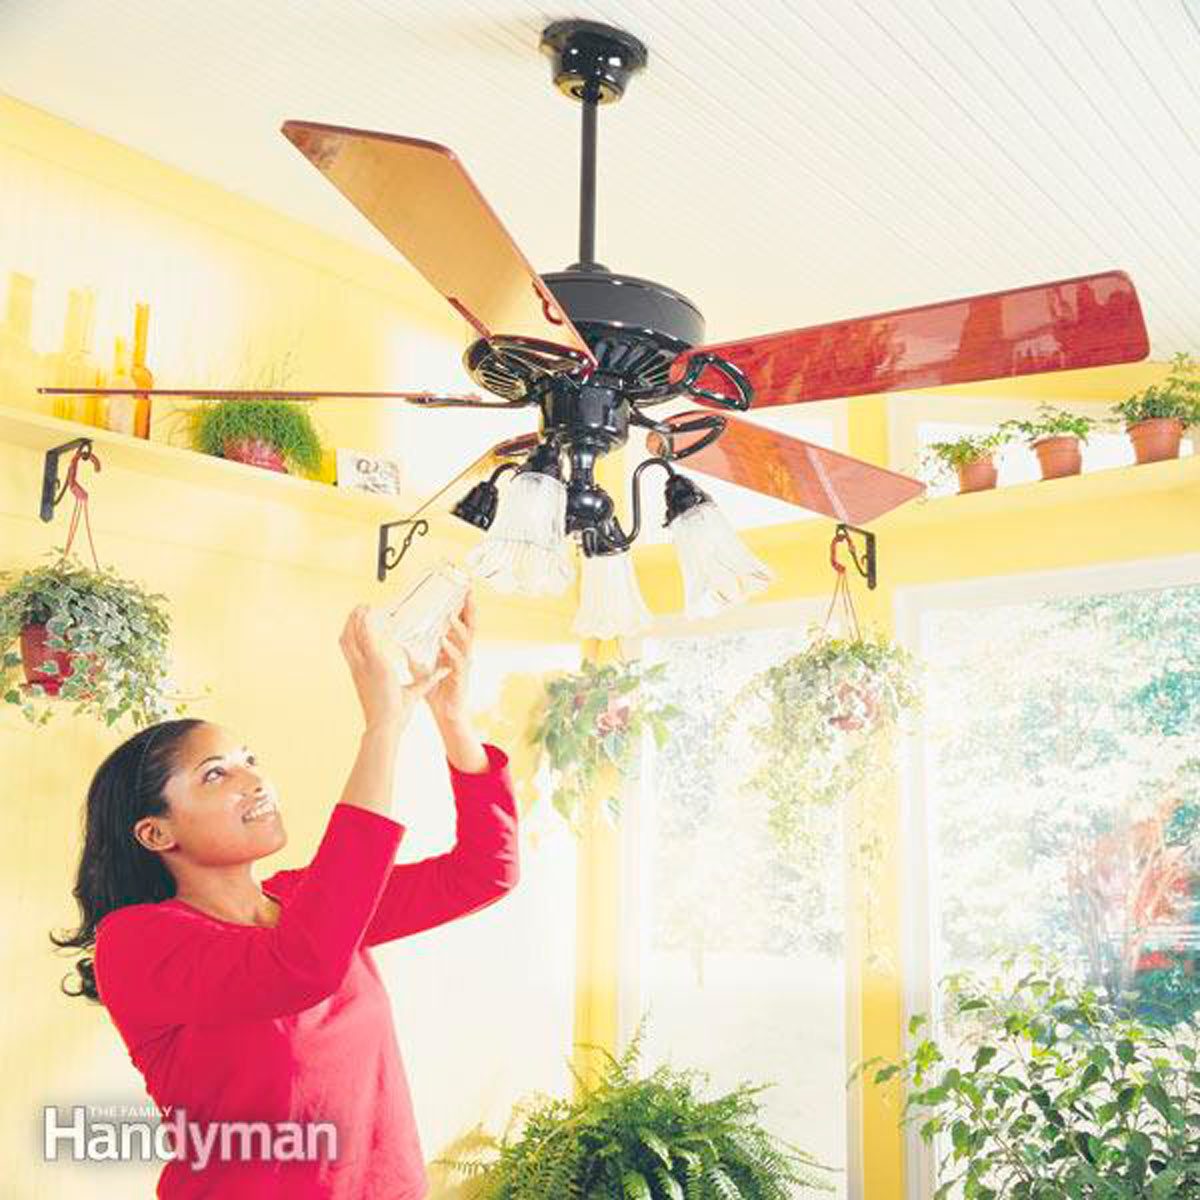
A ceiling fan improves cooling in summer and heating in winter. The result: You feel more comfortable while you save on utility bills. And installing them yourself is much easier, thanks to new, strong hanging systems and electronic controls. We show you how to avoid common pitfalls when installing one yourself.
You don’t have to be a “Casablanca” aficionado to appreciate the elegance a ceiling fan can bring to your home. And you can enjoy a fan all year long as it creates a welcome breeze in the summer and circulates warm air in the winter.
Installing a ceiling fan (technically called “paddle fans”) used to be frustrating, to say the least. Most of the time you had to wing it because specialty hanging systems were poorly developed or nonexistent. Nowadays, most manufacturers have designed versatile fan mounting systems that take the hassle out of installing a ceiling fan. When you add in the improved, stronger ceiling boxes, you’ll find that just about any ceiling fan can go up quick and easy on any ceiling, sloped or flat.
In this article, we’ll illustrate crystal-clear instructions that go beyond the basic set included with the fan. We’ll also show you how to avoid common pitfalls like putting on parts in the wrong order and forgetting to slip shrouds on ahead of time. Some mistakes are more serious than these. Standard electrical boxes or blades hung too low can be downright dangerous.
In addition to the fan, you can buy accessories like a ceiling fan remote, fancy light packages and furniture-grade paddles.
If everything goes well, you can put up a ceiling fan in a couple of hours, including cleanup. In most cases, the whole job will take only a hammer, a screwdriver, a 3/8-in. nut driver and a wire stripper.
Most of the time, the wires that fed a previous ceiling fan wiring light fixture are adequate for hooking up a new fan. If you have a ceiling fan wiring arrangement that’s different from ours and you are unfamiliar with wiring techniques, consult an electrician or building inspector for help.
The steps here apply to more than 95 percent of all fans. There may be small variations, particularly when it comes to the light and blade mountings, so you’ll still need to consult the instructions provided with your fan.
Family Handyman
Manufacturers generally require that fan blades be at least 7 ft. above the floor. Since most fan and motor assemblies are less than 12 in. high, they’ll fit under a standard 8-ft. ceiling with the proper clearance.
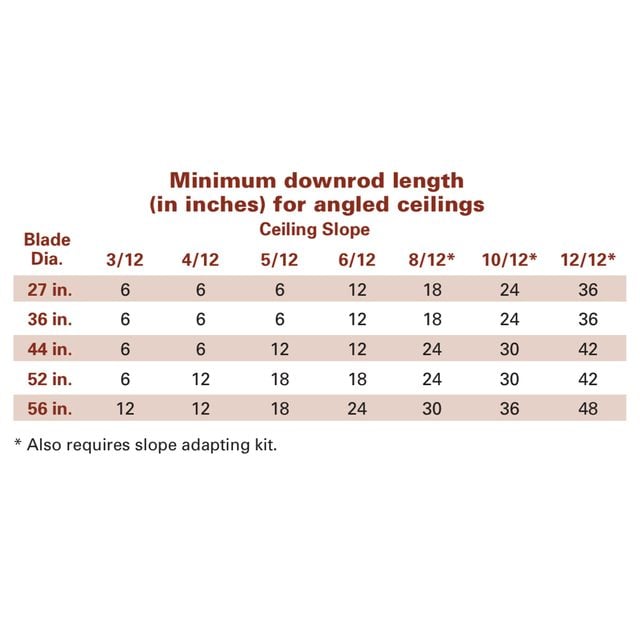
Angled ceilings require that you install “downrods” (also called extension tubes or downtubes) that will lower the motor and fan blades so they’ll clear a sloped ceiling surface. The more space between the ceiling and the fan, the better. The fan will have more air to draw from, and you’ll feel more air movement because the blades are closer to you.
Most fans come with a short downrod designed for mounting on 8-ft. ceilings. If your ceiling’s less than 8 ft., you’ll need to remove the rod provided and flush-mount the fan. But if you have a higher or sloped ceiling, purchase a longer downrod.